
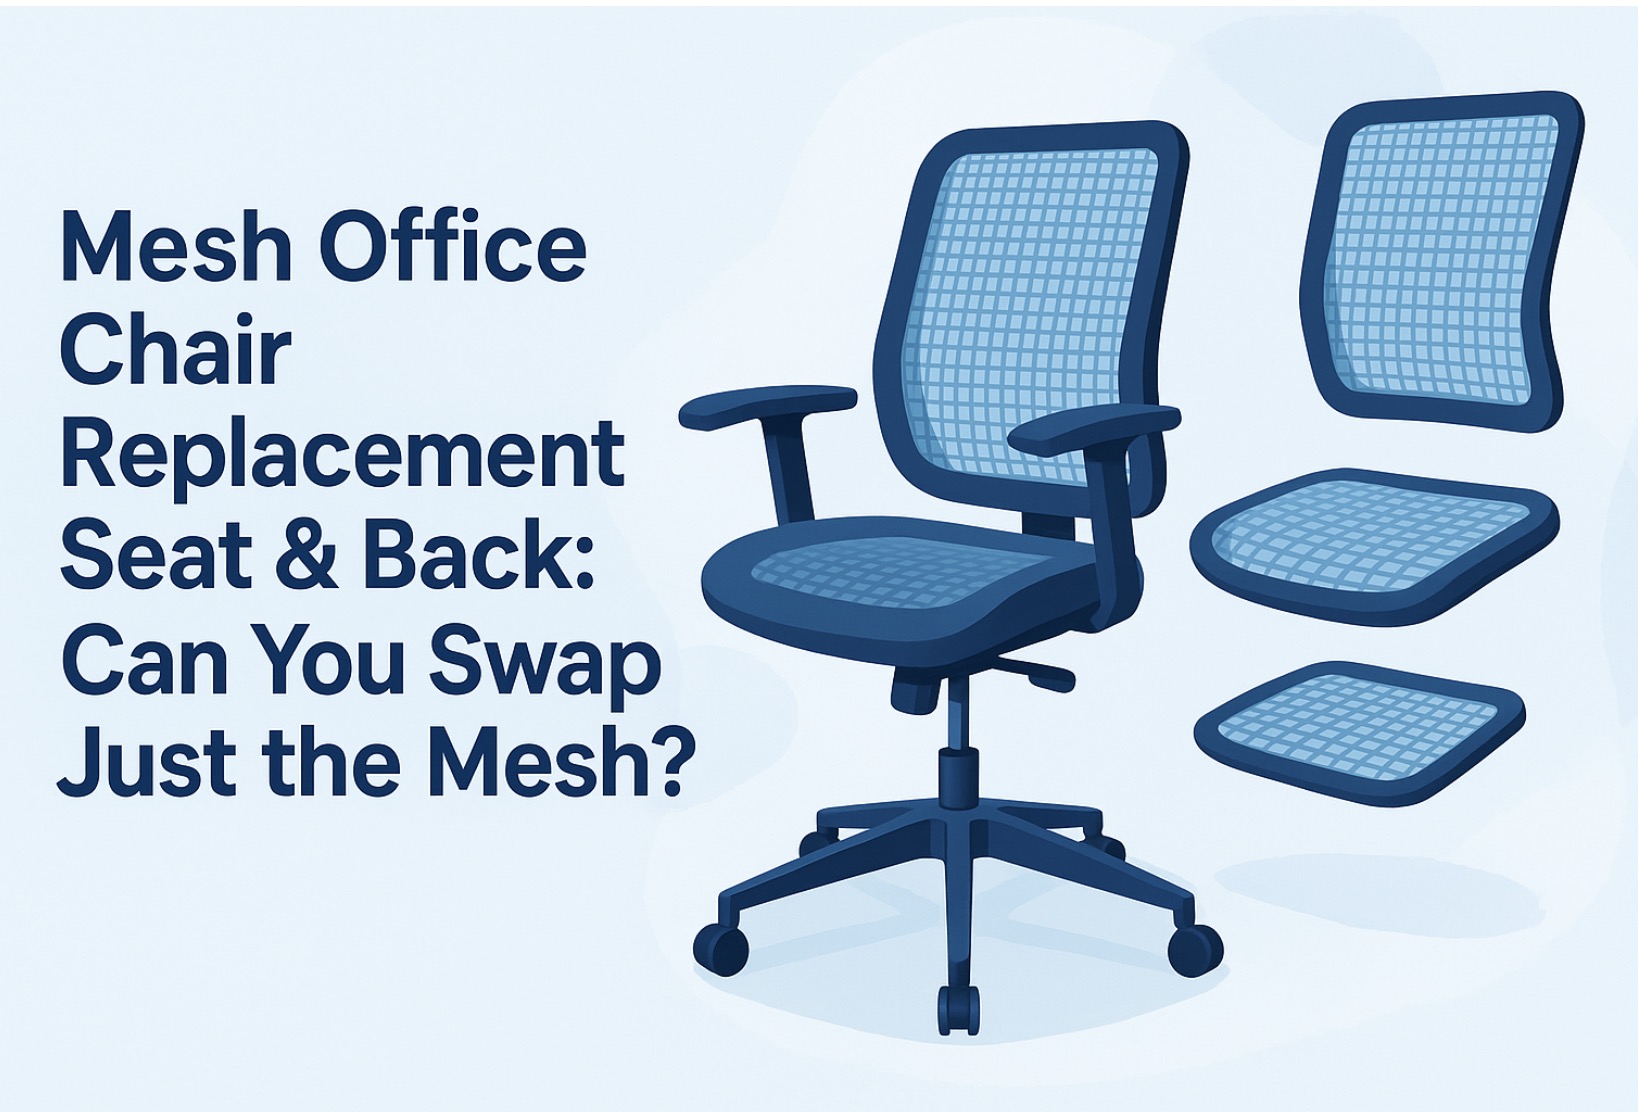
Mesh office chairs are popular because they stay cool, flex with your body, and look modern. The downside is that mesh eventually stretches, sags, or tears, especially on the seat and lumbar area. When that happens, many people wonder: do you have to replace the whole chair, or can you swap just the mesh on the seat and back? In many cases, manufacturers sell the seat and back as full assemblies, but there are situations where you can replace only the mesh if you are willing to do a bit of careful DIY.
How Mesh Is Attached on Most Office Chairs
On most ergonomic mesh chairs, the fabric is not simply draped like a slipcover. It is tensioned and anchored in specific ways so it stays supportive over time.
- Heat-formed into the frame: Some brands mold the mesh into the plastic frame during manufacturing, making the fabric effectively permanent.
- Stapled, clipped, or riveted: Others wrap mesh around the frame and secure it with staples, hidden clips, or rivets on the underside.
- Pre-tensioned assemblies: Many high-end mesh chairs use pre-tensioned seat and back modules you bolt directly to the mechanism and spine.
Because of this, OEM replacement parts are often sold as complete seat assemblies or back assemblies instead of loose replacement mesh.
When You Can Replace Just the Mesh
There are a few scenarios where replacing only the mesh is realistic.
- Simple slip-style covers: Some budget mesh chairs use a sleeve-style seat or back cover held in place by screws or a plastic bezel. If you can remove the frame and slide the old mesh off, you may be able to slide a new cover on.
- Chairs with removable mesh panels: A few designs have mesh panels held by screws or clips instead of being permanently bonded, which makes a mesh-only swap much easier.
- Third-party replacement panels: For very popular models, you may find aftermarket mesh panels sized specifically for that frame.
If you want to explore mesh-only options, start by looking for model-specific parts such as a mesh office chair replacement seat or a mesh office chair replacement back and check product descriptions for your exact chair model.

Samyoung Mesh Back Lumbar Support, Back Support Seat Cushion with Breathable Mesh for Office Chairs Car 12” x 16”
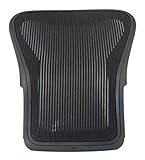
Replacement Back for Herman Miller Aeron Chair (Size B - 2 Dots) in Graphite Black Color

CHAIRORAMA HM Aeron Classic Replacement Back Mesh (Size C)
When You Should Replace the Whole Seat or Back Assembly
For many modern mesh chairs, the practical answer is that you replace the full seat or back assembly rather than re-meshing the old frame.
- The mesh is bonded to the frame in ways that are hard to reproduce at home.
- The frame or perimeter often develops cracks when the mesh has been sagging for a long time.
- Internal support straps or crossbars may be worn along with the fabric.
- Removing and re-tensioning mesh can risk warping the frame or creating uneven support.
Brand-specific repair guides for popular mesh chairs often recommend swapping the entire module when the mesh gets tired. For example, the walkthrough for fixing an ErgoTune Supreme in this ErgoTune Supreme repair guide notes that persistent sagging mesh usually calls for a new seat or back assembly.
How to Identify the Right Replacement Seat or Back
Before you buy anything, take a few minutes to identify your exact chair and part.
- Find the brand and model name on a sticker under the seat, on the back frame, or on your original paperwork.
- Look for a part diagram or manual online so you know whether the manufacturer even sells separate seat and back assemblies.
- Take clear photos of the seat and back from multiple angles, including the underside, to compare with product photos.
- Measure mounting hole spacing, frame width, and depth so you can confirm compatibility if you use third-party parts.
Once you have that information, you can search for model-specific parts or more universal replacements like an ergonomic office chair replacement seat and back kit and compare what you see to your chair.
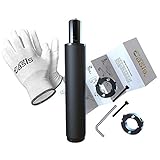
Office Chair Cylinder Replacement with Removal Tool (As Seen On PBS) - Heavy Duty Pneumatic Gas Lift Piston for Desk Chairs and Gaming Chairs - Universal Fit

LISHINE Office Chair Replacement Parts Heavy Duty 660LBs 5.9" x 10" Mounting Holes Office Chair Swivel Tilt Base, Desk Chair Base Replacement Metal for Executive and Gaming Chairs, Black

CloudBliss Lumbar Support Pillow & Seat Cushion Set for Office Chair, Desk Chair, Wheelchair & Car – Memory Foam Back Support, Ergonomic Chair Cushions, Sciatica Pain Relief, Home Essentials, Black
Tools and Prep Before You Start
Swapping a mesh seat or back is not complicated, but it does require a few basic tools.
- A metric and imperial Allen key set for office chairs to handle most bolts.
- A small ratcheting screwdriver set for Phillips and Torx screws.
- A soft pad or blanket to protect the frame and mesh while you work.
- Optional: medium-strength thread locker so bolts do not work loose over time.
Always work on a stable surface, and if your chair is heavy, get someone to help you flip and support it while removing parts.
Step-by-Step: Replacing a Mesh Seat Assembly
- 1. Remove the chair from the base (if needed). Some chairs are easier to service if you separate the top from the base by removing the gas cylinder from the seat plate.
- 2. Flip the chair and locate the seat mounting bolts. Most mesh seats attach to a metal tilt mechanism or seat plate with four bolts.
- 3. Support the seat while loosening bolts. Hold the seat to prevent sudden drops as you remove the bolts one by one.
- 4. Lift off the old mesh seat. Once all bolts are out, tilt the seat up and away from the mechanism, noting cable or lever positions if your chair has advanced functions.
- 5. Position the new seat assembly. Align the mounting holes on the new mesh seat with the tilt mechanism or seat plate.
- 6. Install bolts finger-tight, then snug evenly. Start all bolts by hand to avoid cross-threading, then tighten in a crisscross pattern.
- 7. Test height and tilt. Sit in the chair to make sure the new seat feels level, secure, and responsive when you recline.
If you feel a new wobble after the swap, use the troubleshooting steps in the article on why your office chair wobbles and how to fix it fast to double-check your base, casters, and gas lift.
Step-by-Step: Replacing a Mesh Back Assembly
- 1. Identify how the back attaches. Look for bolts at the base of the back, along the spine, or under a plastic shroud.
- 2. Remove decorative covers if necessary. Many mesh backs have plastic trim pieces that conceal fasteners; gently pry them off with a plastic trim tool or your fingernails.
- 3. Loosen and remove the back mounting bolts. Support the back as you remove bolts so it does not twist or fall.
- 4. Lift the back straight up and off the spine or mechanism. Take photos of any brackets or alignment pins.
- 5. Align the new mesh back. Slide the new back onto the spine or bracket, making sure any alignment pins or hooks seat correctly.
- 6. Reinstall bolts and covers. Tighten bolts evenly, then snap trim pieces back into place if your chair uses them.
- 7. Test recline and height. Sit, recline, and adjust the back height to ensure everything moves smoothly without rubbing or creaking.
DIY Re-Meshing: Is It Worth It?
Some experienced DIYers attempt to re-mesh a seat or back frame themselves instead of buying a complete assembly.
- You can purchase suitable stretch mesh fabric for office chairs and staple or clamp it to the existing frame.
- Proper tensioning is tricky: too loose and you get sagging; too tight and you risk cracking the frame.
- Some frames use grooves and locking strips instead of staples, which can be hard to replicate without special tools.
- A poor DIY re-mesh can void any remaining warranty and may not feel as supportive or durable as the original.
For mid-range or premium chairs, replacing the full assembly is usually the safer choice. For very inexpensive chairs, a DIY re-mesh can be a fun experiment if you treat it as a low-stakes project.
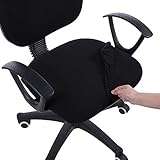
Smiry Stretch Jacquard Office Computer Chair Seat Covers, Removable Washable Anti-dust Desk Chair Seat Cushion Protectors - Black

Velvet Plush Office Computer Chair Cover for Executive, Gray, XL
How Long Should Mesh Seats and Backs Last?
Mesh does not last forever. How long it holds up depends on your weight, how many hours you sit, and how gently you use the chair.
- Heavier users and all-day sitting will naturally stretch mesh faster.
- Perching on the front edge or leaning far to one side concentrates stress on a small area.
- Direct sunlight and high heat can weaken synthetic fibers over time.
- Dust and grime can work into the weave and abrade the threads.
If your chair is several years old and multiple components are showing their age, it might be time to step back and consider overall lifespan rather than just the mesh. The article on how often office chairs should be replaced can help you decide whether to keep investing in repairs or move on to a new chair.
Care Tips to Make New Mesh Last Longer
Once you have fresh mesh in place, a little routine care goes a long way.
- Vacuum the mesh regularly with a brush attachment to remove dust and grit.
- Wipe occasionally with a mild, non-solvent cleaner recommended for synthetic fabrics.
- Avoid sharp objects in back pockets that can snag or cut the mesh.
- Set seat height so you are not constantly perched on the front edge.
- Keep your chair within its rated weight limit and avoid using it as a step stool.
Treat the mesh seat and back as key load-bearing parts, not just cosmetic fabric. With thoughtful care and the right replacement strategy, you can keep your mesh office chair comfortable, supportive, and good-looking for many years.

